
NiceBarX Tutorial
Tweak Information
Source/Repo: apt.niceios.com
Price: Free Trial, then two paid options: $5 for one year license, and $10 for Lifetime license
Disclaimer: This tutorial was written on September 6th, 2019 for version 2.0.5.2-1
So, I've been getting a lot of questions about this tweak and how to work with it. Since it's been developed by a chinese developer, even the help pages and documentation are a bit difficult. I'll try to give a comprehensive tutorial about the features of this tweak going by the sections in the tweak preferences. I'll only explain the settings I'm familiar with and have used/experimented with.
Time Settings
Click to View the Tutorial
As the name suggests, in this section you're able to manipulate the time, or more accurately, the left side of the notch where the time exists. You can change stuff like the font, size, color and whatnot. What I will focus on is the small section below where you can add 'commands' to actually customize the time.
As a simple example, here's what the time looks in my device, and what I've written in the box.
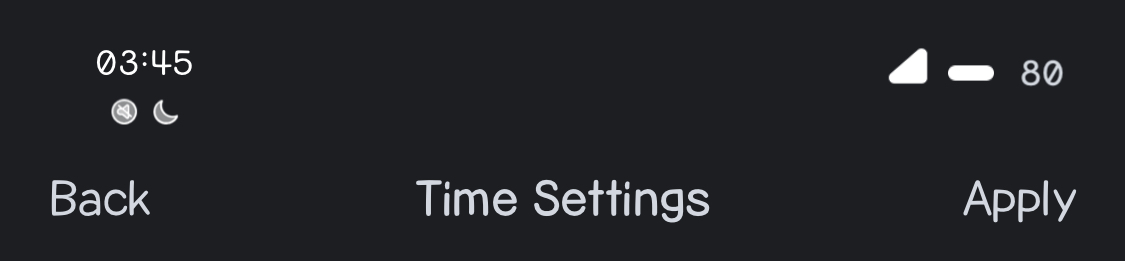
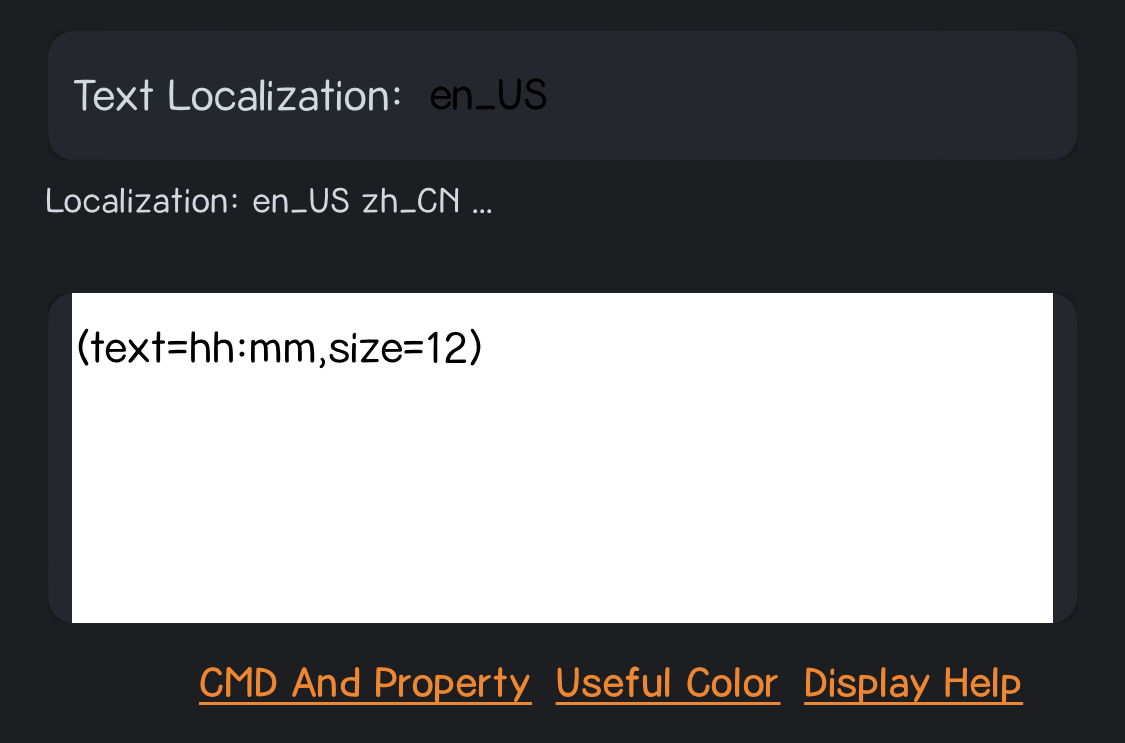
You can see that I just wanted the hours and minutes, and reduced the size to 12. I'll list below some text commands and the results for them.
Text |
Meaning |
Result Example |
|---|---|---|
hh |
Hour (two digits) |
03 |
h |
Hour (one digit) |
3 |
mm |
Minutes |
10 |
ss |
Seconds (two digits) |
07 |
s |
Second (one digit) |
7 |
/n |
Inserts a new line |
|
D |
Day of the year |
249 (for Sep 6th, 2019) |
dd |
Day Date (two digits) |
06 |
E |
Abbreviated Week Day Name |
Fri |
EEEE |
Full Week Day Name |
Friday |
CCD |
Lunar Calendar Day |
08 |
MM |
Month Date (two digits) |
09 |
MMM |
Abbreviated Month Name |
Sep |
MMMM |
Full Month Name |
September |
CCM |
Lunar Calendar Month |
08 (for September) |
Y |
Year Date |
2019 |
CCY |
Lunar Calendar Year |
36 (for 2019) |
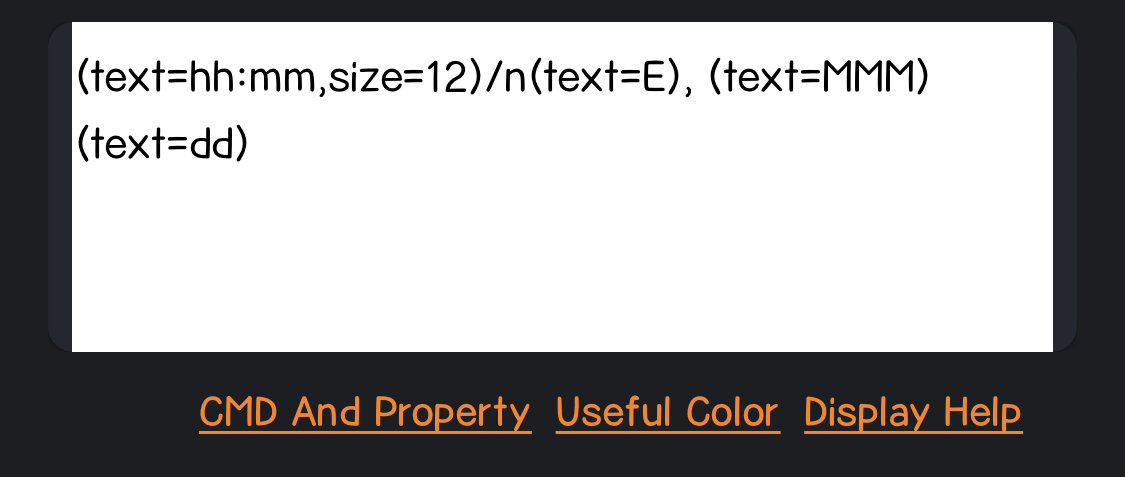
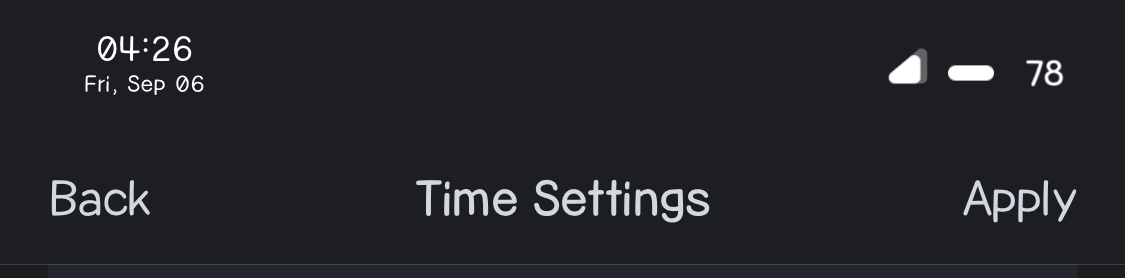
So say I wanted the time with hours and minutes, then below it is the abbreviated day name, abbreviated month name, and the day date, I would do as the below first image, and the result is the second one.
Weather Settings
Click to View the Tutorial
This section I believe is the simplest. You can just enable the weather customization and you'll get the weather under the notch. Of course, you can adjust the position of it by changing the module position in terms of X (horizontal left and right) and Y (vertical up and down).
Similar to the time, you can specify which elements of the weather you'd like to see. I dont think there's a need to summarize them in a table because they are all explained in the tweak itself. You can access them by clicking on CMD and Property below the white text box.
Battery Settings
Click to View the Tutorial
To be honest, I'm not quite sure what to say in this section because I feel like it's quite self-explanatory.
You have 3 modes for the battery, you can have Text only, Original Battery Icon, or a Vertical Battery Bar. Whichever mode you select, the section for its customization will show up. However, note that Battery Border Color and Batter Fill Color are for the Icon and Bar Modes Only.
What I do want to explain is the Color section as there's something interesting in it. Let's take the Icon mode for this example. Let's say I want the Battery Fill Color. The order for the colors you're supposed to enter is for these modes in order: Normal, Charging, Low Power Mode, and Low Power.
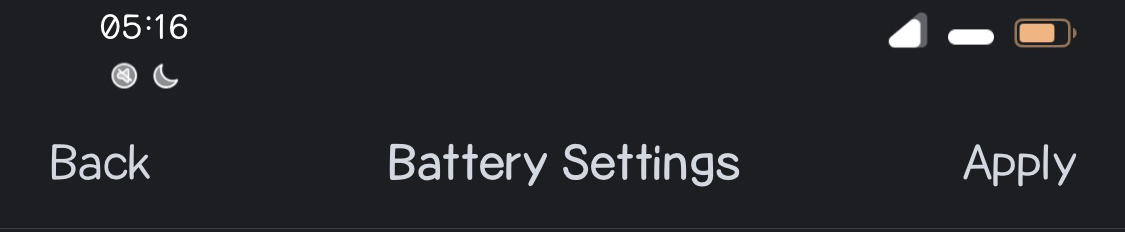
You're supposed to enter the colors in HEX mode. For example, I entered them like this (#0,#00F0B6,#FAB279,#FE5F6A), and these work great as you can see below.
LPM
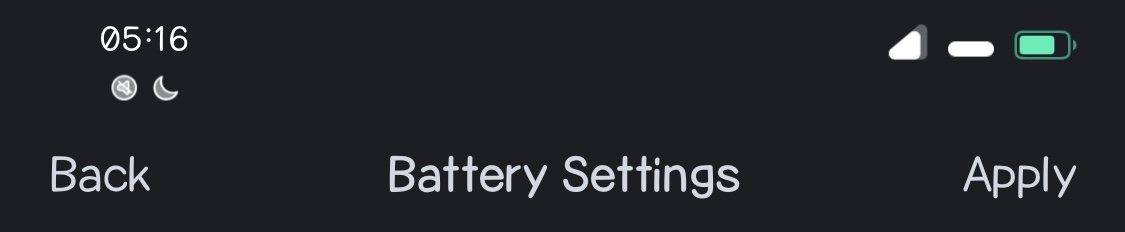
Charging
But let's say I don't like the opacity of the filling. I want it more transparent. What you do is you add two numbers/letters to the HEX color. Let's try adding 57 to the end of each color. The text will be as such (#0,#00F0B657,#FAB27957,#FE5F6A57). The result will be like the images below
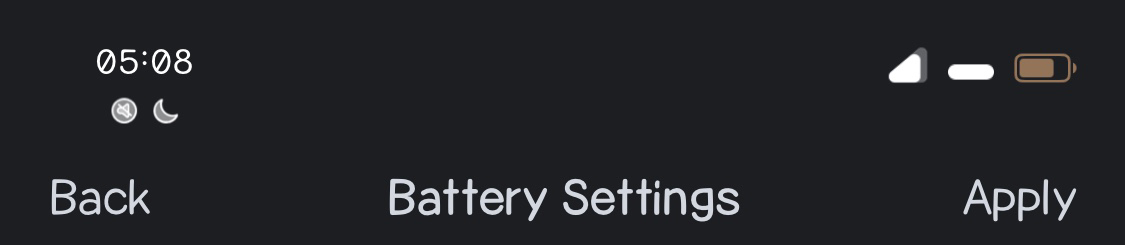
LPM

Charging
It's not a very noticable difference, but you can see when we added the two numbers, the colors became less transparent. You can try combinations for the numbers/letters from 00 (full transparency) to FF (full color).
WiFi/Cellular/Custom Icons Settings
Click to View the Tutorial
Finally, the section I got the most questions about, and I'm not quite sure why. In this one, you can have custom icons for all the things iOS shows you in the CC (if you have a device with a notch) but outside of the CC, and you can have custom WiFi and Cellular themes/images.
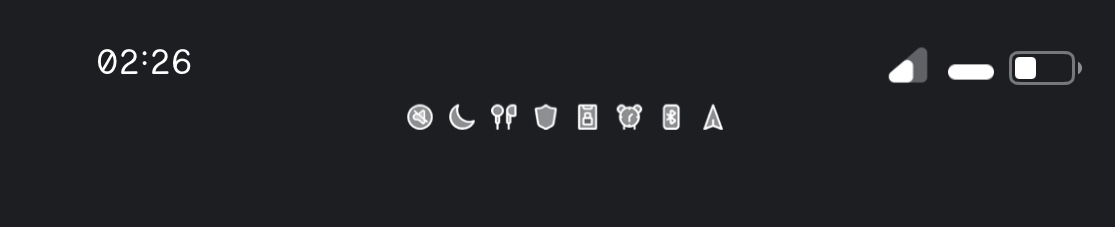
First, I'll list the different things you can show in this section, and what corresponding text you need. The image below shows them all... mostly.
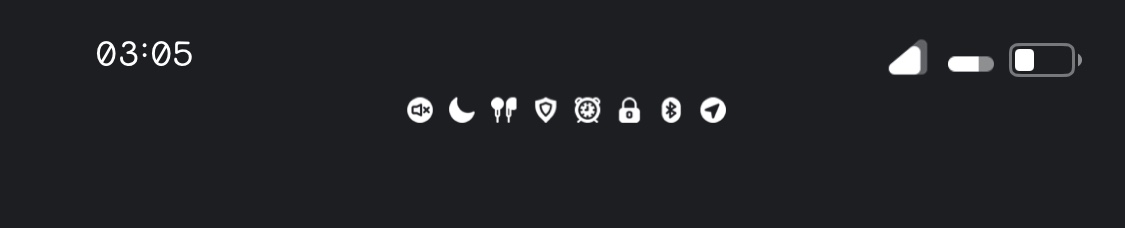
Shameless plug for my Lineal and Flat icons for this tweak.
Text |
Case/Mode |
|---|---|
mute |
Phone is Muted/In Silent Mode |
quite |
Do Not Disturb is On |
vpn |
Connected to VPN |
bluetoothreciever |
Connected to a Bluetooth Device (such as Airpods) |
rotationlock |
Orientation Lock is On |
alarm |
You have an Upcoming Alarm |
location |
Your Location is being Used |
bluetooth |
Your Bluetooth is On |
btpower |
Shows Battery of Connected Bluetooth Device |